When homeowners hear that a full roof installation is needed, it can feel slightly overwhelming. There is often uncertainty about how long the work will take, how disruptive it may be, and whether unexpected costs could arise along the way.
While every property is different, a professional roof installation usually follows a clear and structured process designed to minimise disruption and deliver reliable, long-lasting results.
Understanding what happens at each stage can help reduce worry and set realistic expectations. It also allows you to spot whether work is being carried out properly and professionally.
A reputable roofing contractor will be open about their methods and happy to explain what is happening as the project progresses, rather than leaving you in the dark.
Initial Roof Inspection and Site Assessment
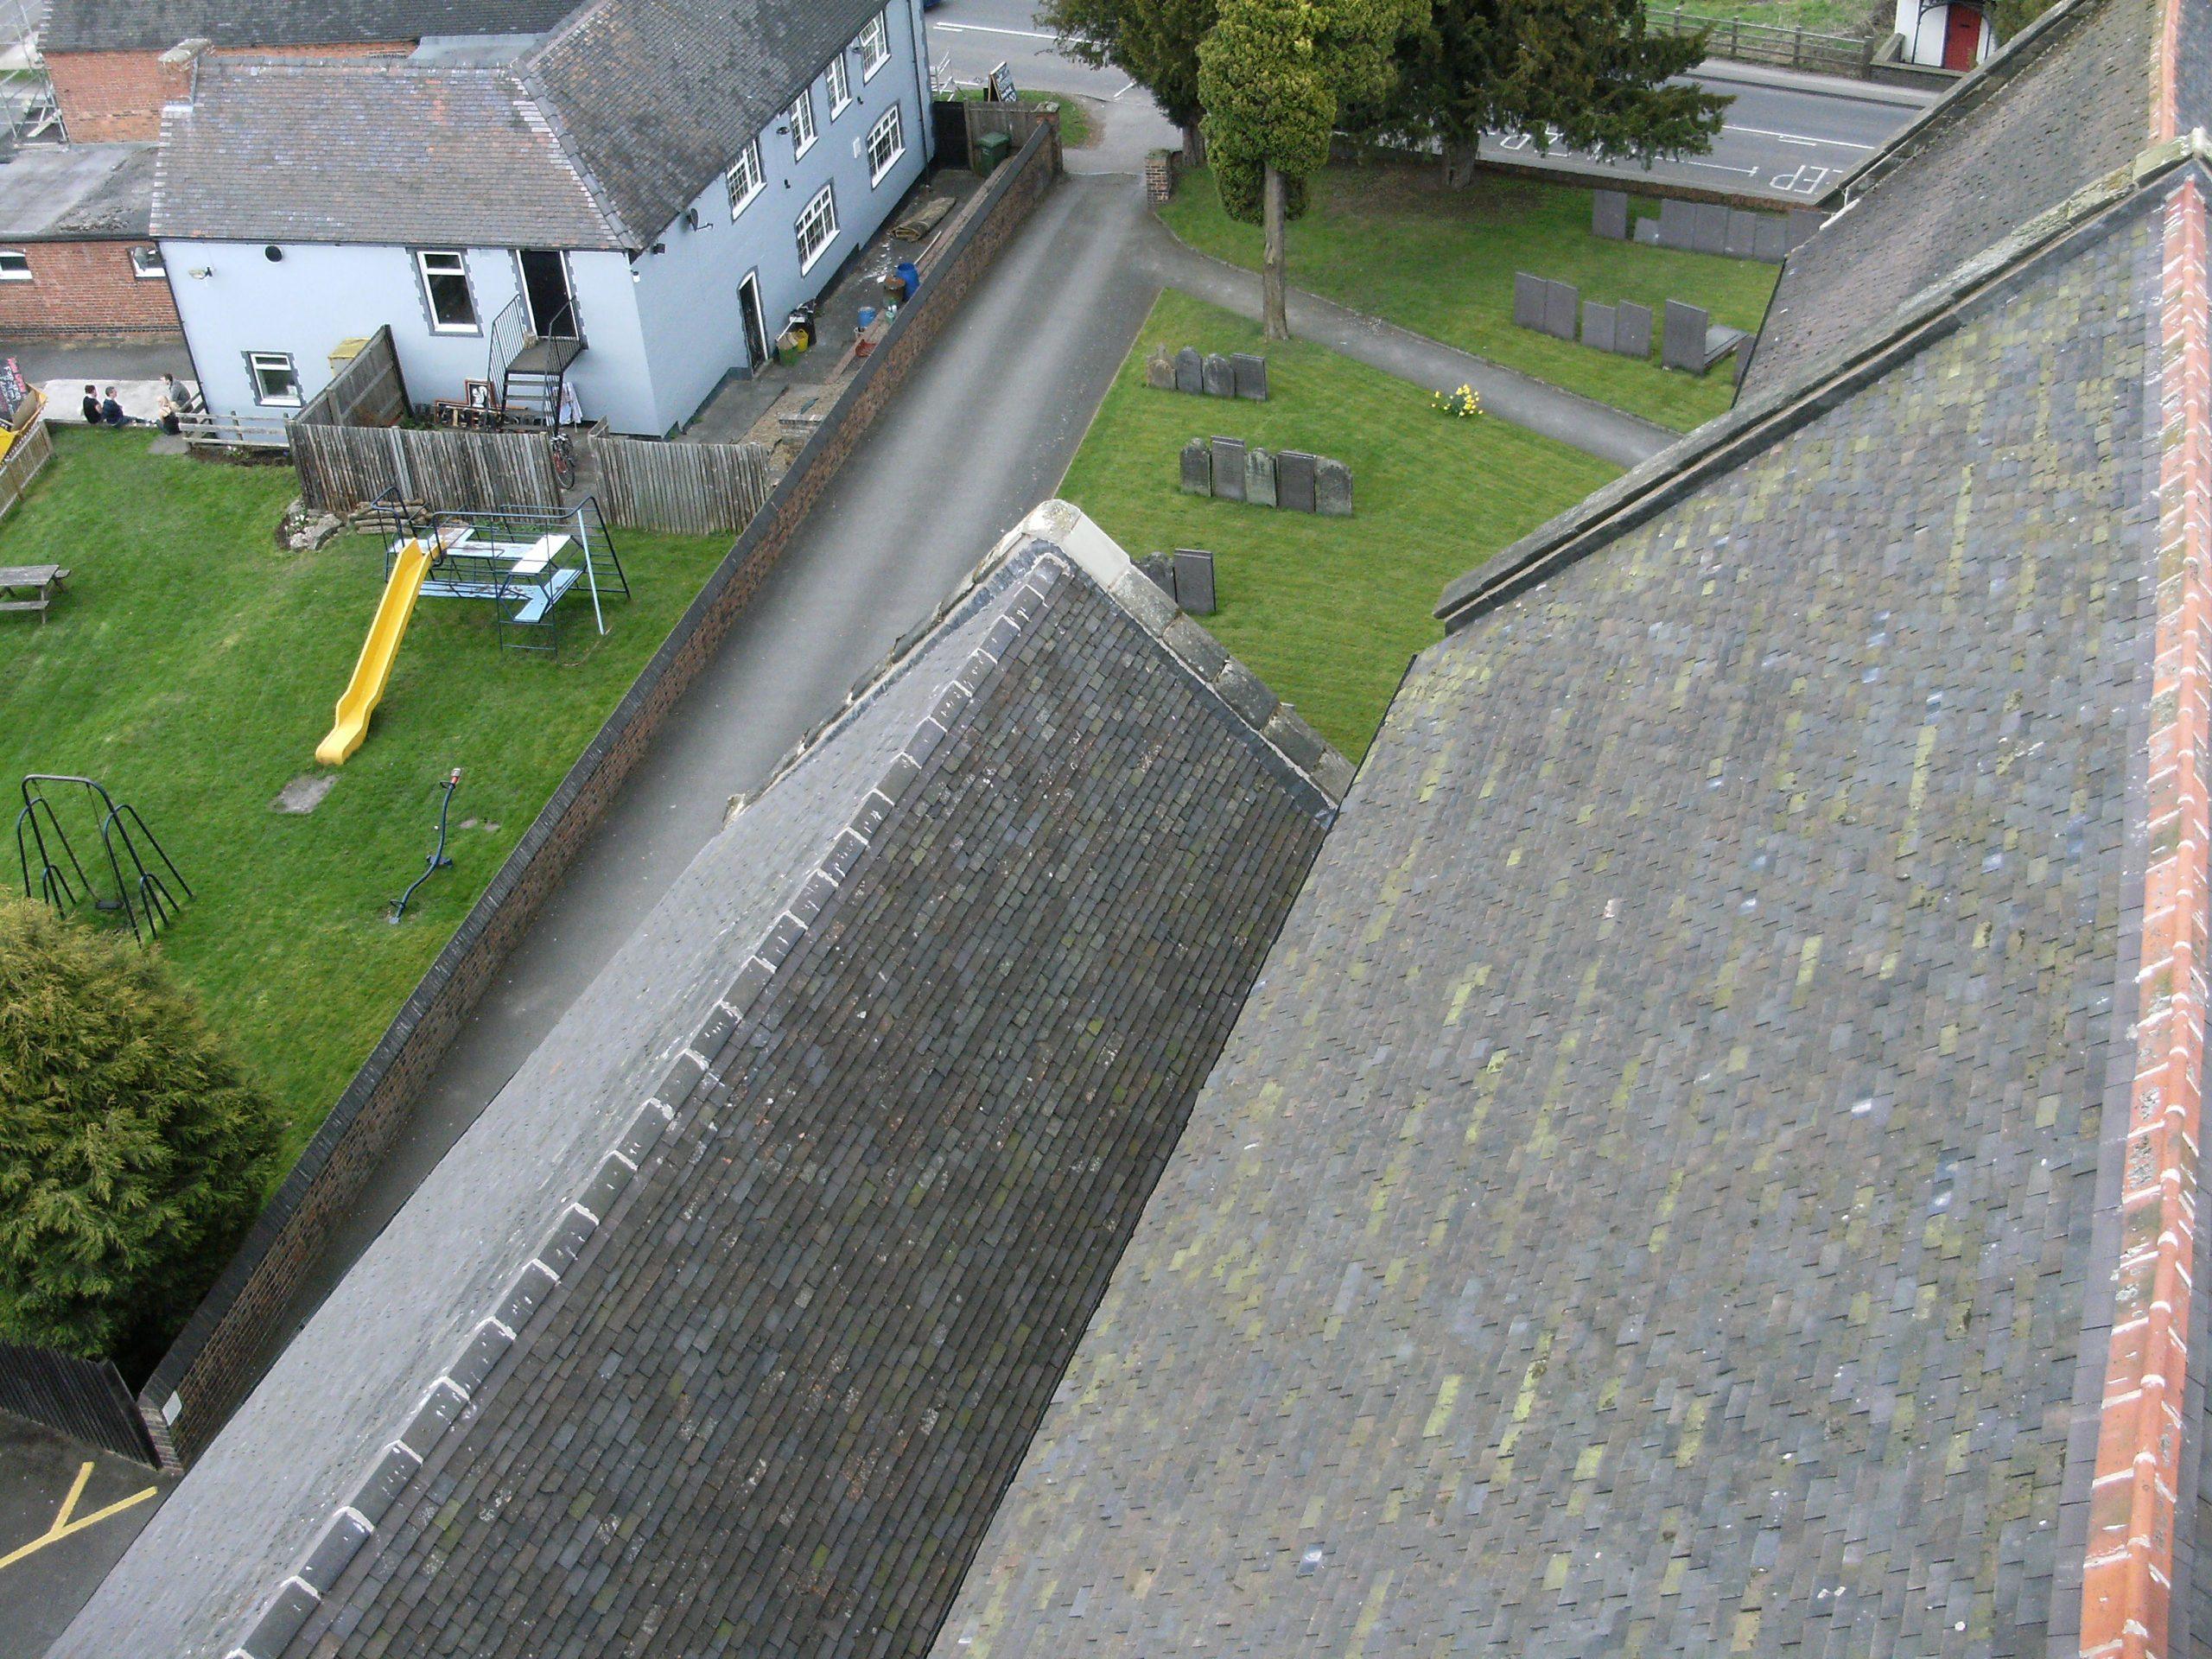
Before any tools are unpacked, a detailed inspection of the existing roof is carried out. This involves checking tiles or slats, examining flashing, and looking closely at the roof structure beneath.
Subtle signs of decay, trapped moisture, or weakened timbers may suggest deeper problems that need addressing before new materials are installed.
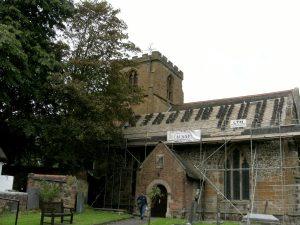
Access and safety are also carefully assessed at this stage. Roof height, pitch, and proximity to neighbouring properties can affect how the job is approached.
The roofer will consider where scaffolding is needed, how materials will be lifted, and whether any additional safety measures are required to protect both workers and occupants.
Quotation, Materials, and Project Planning
Once the inspection is complete, a written quotation is prepared. This should clearly outline the scope of work, materials to be used, expected timescales, and overall cost.
While cheaper quotes can be tempting, they may indicate corners being cut or inferior materials being used, which can cause problems later.
Material selection is also discussed during this stage. Clay tiles, concrete tiles, slate, and modern membranes all have different lifespans and performance characteristics.
A good contractor will explain the pros and cons of each option and help you choose something that suits both your budget and the style of your property.
Preparing the Property and Work Area
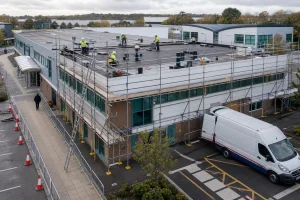
Before work begins, the site is prepared to ensure everything runs smoothly. Scaffolding is erected to provide safe access to the roof, and protective sheeting may be placed over patios, flowerbeds, or driveways.
This helps prevent damage from falling debris and keeps the area manageable.
Internally, loft spaces may also be covered or cleared to reduce dust and disturbance. Waste skips are positioned carefully, and storage areas are set aside for materials.
While it can look slightly chaotic at first, this organisation is essential for maintaining safety and efficiency throughout the project.
Removing the Existing Roof Covering
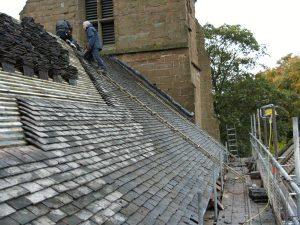
The next step involves removing the old roof covering. Tiles, slats, or membranes are stripped away methodically rather than torn off in a rush.
This controlled approach reduces the risk of damaging the underlying structure and allows the roofer to assess the condition of hidden components.
As materials are removed, they are sorted for disposal or recycling where possible. Many roofing materials can be reused or recycled, which helps reduce waste.
At this stage, homeowners often get their first real glimpse of what has been happening beneath the surface for years.
Repairing and Preparing the Roof Structure
With the roof exposed, attention turns to the supporting framework. Damaged rafters, rotting battens, or weakened decking are replaced or reinforced as needed.
Skipping this stage may seem like a cost saving, but it often leads to premature failure of the new roof.
A breathable membrane is then installed to provide secondary weather protection. New battens are fixed at precise intervals to support the tiles or slats.
Everything is carefully levelled to ensure the finished roof sits neatly and performs properly in poor weather.
Installing the New Roofing System
Once the structure is prepared, the new roofing system can be fitted. Underlay and waterproof layers are laid first, followed by the main covering material.
Each tile or slate is fixed according to the manufacturer’s guidelines to prevent movement during strong winds.
Specialist features such as ridges, valleys, and flashing are then installed. These areas are particularly vulnerable to leaks, so precision is essential.
Proper ventilation is also incorporated to reduce condensation and help maintain healthy roof timbers over time.
Fitting Fascias, Soffits, and Guttering (If Required)
In many projects, roofline components are replaced alongside the main covering. Fascias and soffits protect the roof edges and provide ventilation, while guttering directs rainwater safely away from the building.
Worn or damaged components can undermine an otherwise sound roof.
Modern uPVC systems are often chosen for their low maintenance and durability. However, timber options may still be preferred on period properties.
The aim is to achieve both practical performance and a finish that complements the rest of the home.
Quality Checks and Final Inspection
Before the job is considered complete, a thorough inspection is carried out. Fixings are checked, alignments reviewed, and potential weak spots examined.
This stage helps ensure that everything meets professional standards and current Building Regulations.
Minor adjustments are often made at this point. A slightly uneven ridge line or loose fitting can be corrected before it develops into a larger issue.
This attention to detail is what often separates skilled tradespeople from less reliable operators.
Site Clean-Up and Waste Removal
Once work is finished, the site is carefully cleared. Remaining materials are removed, waste is collected, and scaffolding is dismantled.
Gardens, paths, and driveways are swept and tidied to restore the property to its original condition.
A professional team understands that the final impression matters. Leaving behind nails, broken tiles, or packaging suggests a lack of care.
A proper clean-up reflects pride in workmanship and respect for the homeowner’s space.

Guarantees, Paperwork, and Aftercare Advice
After completion, the relevant paperwork should be provided. This may include warranties for materials, guarantees for workmanship, and certificates confirming compliance with regulations.
These documents can be important for future insurance claims or property sales.
Homeowners are also given guidance on ongoing maintenance.
Simple steps such as clearing gutters, checking for slipped tiles, and arranging periodic inspections can help extend the roof’s lifespan and prevent avoidable repairs.
Conclusion
A professionally installed roof is more than just a visual upgrade. It provides long-term protection, improves energy efficiency, and reduces the likelihood of costly emergency repairs.
While the process may seem involved, each stage plays an important role in achieving a reliable result.
Choosing experienced roofers, like us at ACSAP Roofing, and understanding how the work is carried out offers genuine peace of mind.
Over time, this careful approach is likely to save both money and stress, making professional roof installation a worthwhile investment for any homeowner.